Free Screen to Video:FREE Desktop Screen Recording Software !!!

If we believe that a picture says thousand words, then a video should be a powerful Dictionary.Most of corporate people use to take the Screen shot of particular application to make their presentation better and meaningful.Recently I have discuss with best ScreenSnap tools for windows platform.
But unfortunately Microsoft already embed their own Snipping-tool in their earlier windows version Windows 7.So if you have Windows 7 then go for their default tool otherwise try PrtScr from my previous post.Thought the Microsoft put their snipping tool in windows 7 ,still their is no provision for Screen Recording in any release versions of windows .
So as told you earlier to put life in any presentation/demo we need to go for Screen Recording process.there are many paid softwares available in market for screen recording like CamStudio etc. and which is not feasible for use to go for it.
To overcome this now I am going to share you one of good screen recording software called "Free Screen to Video by Koyote's Soft",this software not only do video+audio recording but also capture all moves of your Cursor and also produce good output result with less recorded file size.Its better tool for low configuration machines.
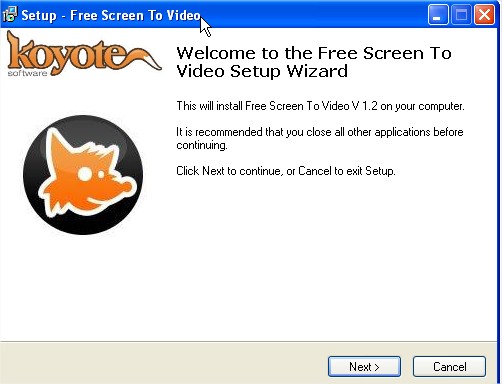
Now I am Sharing some snap of Installation process of the 'Free Screen to Video'.
- Download "Free Screen to Video" from here.
- Start Installation
- During Installation it ask you to download some Microsoft Codecs that require to run this Software ,so download it if you don't have in your machine download is done through same software no addition process is their and download size is also less,it also ask you to add some 3rd party Toolbar and Yahoo as home page in your browser so do it as per your need. After that Finish your installation.
- How to record screen to video in different format like flv, avi, wmv or flash format?
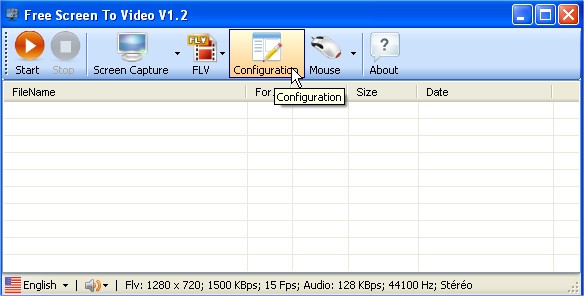
1.Run the Screen to Video application.
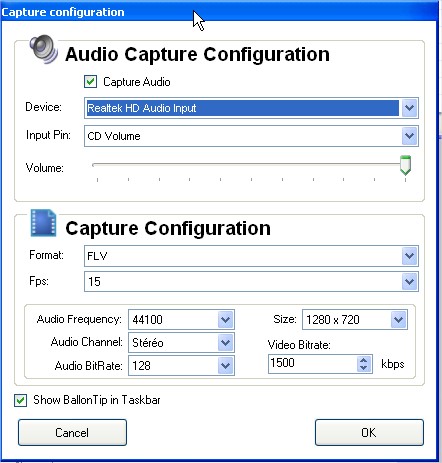
2.Click on Configuration option in open window to configure your audio/video setting.
2..In that windows do your setting accordingly w.r.t audio and video.By default, the recorded video will be saved as FLV file.You can change this to either AVI, WMV or SWF (flash) formats! you also have option to show/hide mouse movements.
3.Once you done all configuration then come back to main window and click on "Windows capture option",you can either choose your custom area or whole screen to render recording accordingly.
4.The software will automatically start recording the computer screen activity.If you aren't yet ready,you can press F9 to pause the recording, get ready with what you want to record and then press F9 againto start recording.
5.Once you are done with the activity, press F10 to stop the recording.The software takes a few seconds to save the output in the chosen location.
6.That is it!!! The recorded video is ready to be played! You can open and play it from the interface, by right clicking the file and choosing Launch Video! option, If you have VLC Player installed on your computer, the video will be played on it!
7.You can also choose option in interface to “create a webpage for the video” by right clicking the file on the software’s interface! Enjoy this free apps!!!
Note: This application is light weight application so sometime can't useful to record Fast-Framing area of screen like Movie clip and all !!!


